Trezor.io/start – Your Ultimate Guide to Setting Up a Trezor Hardware Wallet Securely
In the growing world of cryptocurrency, security is everything. With rising cyber threats, software hacks, and phishing attacks, keeping your digital assets safe is more important than ever. This is where Trezor.io/start plays a critical role. It is the official setup page for Trezor hardware wallets, guiding users step by step to properly configure their device and protect their crypto funds offline.
Whether you are a beginner or an experienced crypto user, understanding how to use Trezor.io/start is essential for maximum security and smooth wallet operation.
What is Trezor.io/start?
Trezor.io/start is the official onboarding page provided by Trezor, a leading manufacturer of hardware wallets. This page helps users initialize their Trezor device correctly by guiding them to download the Trezor Suite application, install the latest firmware, and create or recover a wallet.
Trezor hardware wallets are designed to keep your private keys completely offline, meaning hackers and malware cannot access them. When you use Trezor.io/start, you are ensured a secure and authentic setup process straight from the manufacturer.
This page is used for two main devices:
- Trezor Model One
- Trezor Model T
Why Is Using Trezor.io/start Important?
Many scammers create fake websites to steal private keys and coins. Using the official Trezor.io/start page ensures that:
- You download authentic Trezor software
- Your device firmware is legitimate
- Your recovery seed is generated offline and safely
- Your wallet remains protected from phishing attacks
Using unofficial links can compromise your funds, so it is always recommended to type the URL manually: trezor.io/start.
Step-by-Step Guide to Using Trezor.io/start
Here’s a simple walkthrough for setting up your Trezor wallet:
1. Unbox and Connect Your Device
Take your Trezor device out of the box and connect it to your computer using the provided USB cable. Make sure the holographic seals were intact before opening the box.
2. Visit Trezor.io/start
Open your web browser and go to trezor.io/start. This is the only safe place to begin the setup.
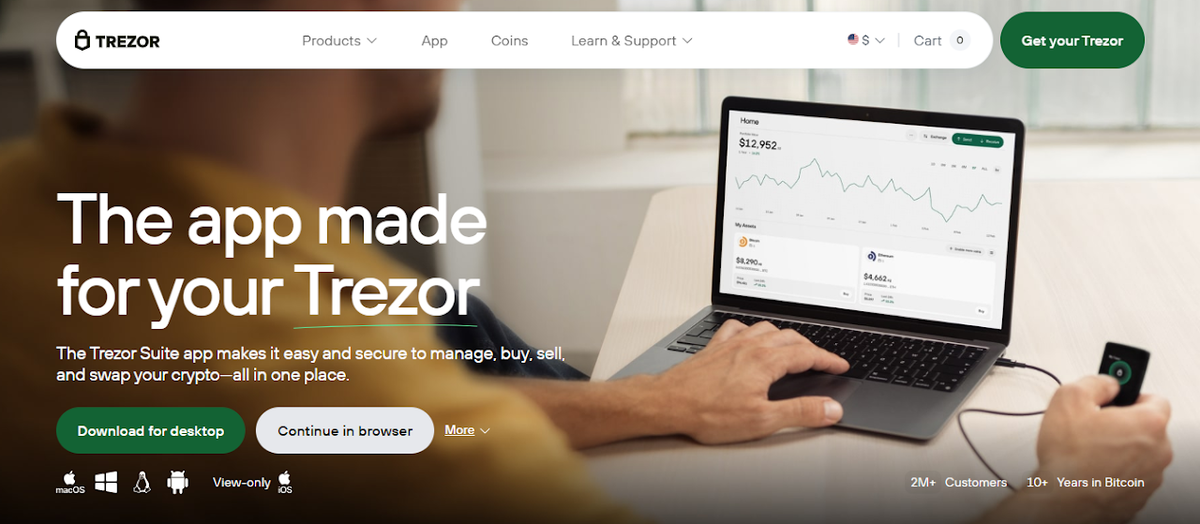
3. Download Trezor Suite
On the page, you’ll be asked to download Trezor Suite, which is the official desktop and web application that allows you to manage your crypto assets.
Trezor Suite is available for:
- Windows
- macOS
- Linux
- Web browser
Install the application after downloading.
4. Install the Latest Firmware
Once Trezor Suite is installed, it will prompt you to install the latest firmware on your hardware wallet. This process is essential for security and new features.
Important: Never disconnect your Trezor during the firmware update.
5. Create a New Wallet
After firmware installation, choose the option to “Create New Wallet.” Your Trezor will then generate a recovery seed of 12, 18, or 24 words (depending on model). These words are the only backup to your wallet.
Write them down carefully on the recovery card provided. Do NOT:
- Take a photo
- Store online
- Share with anyone
This recovery phrase is the key to your funds.
6. Set a PIN
Next, you will set a secure PIN for your device. Every time you plug in the Trezor, you’ll need this PIN to access your funds.
Features of Using Trezor After Setup
Once setup through Trezor.io/start is complete, you can start using the powerful features of your hardware wallet:
✅ Send & Receive Crypto
Trezor supports hundreds of coins and tokens including:
- Bitcoin (BTC)
- Ethereum (ETH)
- Litecoin (LTC)
- Binance Coin
- ERC-20 tokens and more
You can safely send and receive crypto with physical confirmation on the device screen.
✅ Manage Portfolio with Trezor Suite
Trezor Suite provides a clean and simple interface to:
- Track balances
- View transactions
- Exchange crypto
- Buy crypto using third-party services
Everything is displayed in real-time and protected by your offline private keys.
✅ Advanced Security Options
Trezor also offers advanced features such as:
- Passphrase protection
- Hidden wallets
- Shamir Backup (for Model T)
- Tor integration for privacy
These features take your security to the next level.
Recovering Your Wallet Using Trezor.io/start
If you ever lose your device, don’t panic. You can recover your wallet using your recovery seed:
- Get a new Trezor hardware wallet
- Go to Trezor.io/start
- Connect your device
- Choose Recover Wallet
- Enter your seed phrase on the device screen
Your funds will be restored exactly as before.
This is why your recovery phrase is the most important part of your wallet.
Common Issues & Troubleshooting
Some users may face minor problems when visiting Trezor.io/start. Here are solutions:
- Device not detected: Try another USB port or cable
- Browser issues: Use Chrome or try the desktop app
- Firmware fails: Restart device and retry
- Blank screen: Hold both buttons to reset
If issues continue, Trezor support is available directly through their website.
Final Thoughts
Trezor.io/start is the safest and most reliable way to initialize and manage your Trezor hardware wallet. By keeping your private keys offline and using Trezor Suite, you are giving your crypto assets industry-leading security.
In a world where digital theft is increasing, a hardware wallet is no longer an option — it is a necessity. Whether you hold Bitcoin, Ethereum, or other cryptocurrencies, setting up your wallet using Trezor.io/start ensures that you — and only you — are in control of your digital wealth.
If security, privacy, and full ownership matter to you, start today at Trezor.io/start and experience true peace of mind in your crypto journey.